Preliminary Information:
A. The correct tube and fitting should be selected
B. The sealing surfaces of the tube and fitting, including threads,
should be clean and free from damage or contamination
C. Application of a light oil to the threads can be helpful when
using 35mm-54mm fittings
Assembly Preparation:
A. Cut the tube square using a clean rotary cutter. If other cutting
methods are used, such as a saw or hacksaw, use a clean, fine-
toothed blade
B. All burrs must be removed from the tube using a fine-toothed
file or a deburring tool
C. Ensure the copper tube is clean, not damaged or oval
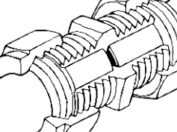
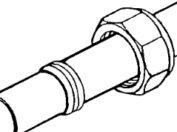
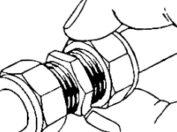
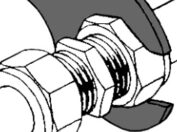
Assembling the Fitting and Tube:
A. Remove the nut and olive from the fitting
B. Put the nut and olive onto the tube
C. Insert the tube into the fitting, ensuring it is up to the tube stop
D. Move the olive and nut down the tube to meet the threads of
the fitting
E. Hand tighten the nut to the fitting
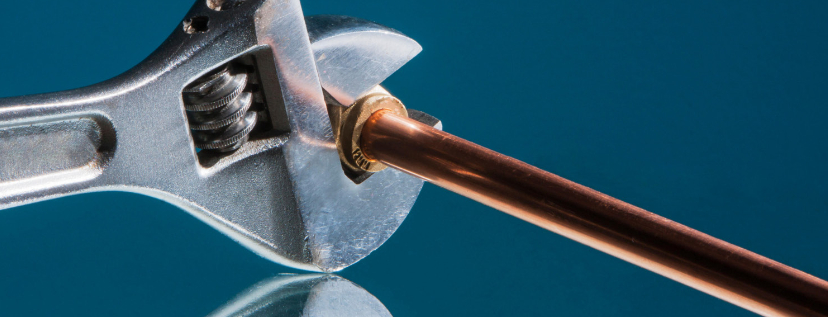
F. The nut should then be tightened with a spanner
Further Installation Details:
- In rare cases there can be a small weep from the joint. If this
is the case the nut can be removed, and an approved jointing
compound applied to the sealing face before re-tightening the
nut. It is also possible to apply PTFE tape to the threads instead - Ensure the nut is not overtightened. If in doubt, please contact us
- In normal operating conditions, after hand tightening the nut,
the number of turns required to form a robust joint would be:
i. 10-28mm 1 turn
ii. 35-54mm ¾ turn
| Torque Settings: | |
| 15mm | 40Nm |
| 22mm | 60Nm |
| 28mm | 80Nm |
| 35mm | 120Nm |
| 42mm | 180Nm |
| 54mm | 240Nm |

