Brazing copper pipe fittings is a common way to connect them in plumbing and HVAC systems. This method applies the use of a filler metal, called brazing rod or brazing alloy, to create a strong, leak-resistant joint between two pieces of copper. Unlike soldering, brazing requires higher temperatures and results in a tougher joint.
Tools and Materials Needed for Brazing Copper Pipes/Tubes
- Copper pipes/tubes
- Fittings
- Pipe cutter or fine hacksaw
- Brazing rod
- Brazing torch
- Wire brush or abrasive cloth
Here’s a step-by-step explanation of the brazing process for copper pipe fittings:

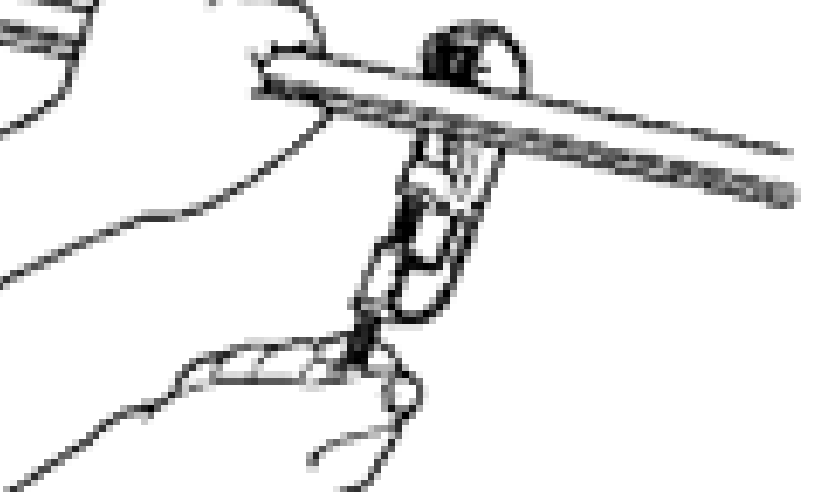
1. Prepare the Copper Pipe or Tube: Begin by cutting the copper pipe square to the required lengths. You can use a tube cutter for precision, but we also recommend a fine hacksaw with a 32-tooth blade. After cutting, it’s essential to remove any sharp edges or burrs from the cut ends. Use a file or an abrasive cloth for this purpose, ensuring a smooth and safe surface.

2. Clean the Copper Pipe or Tube’s Surface The next crucial step is to thoroughly clean the outside end of the copper tube or copper pipe. Use sandpaper for this purpose, ensuring there are no dark spots or contaminants left on the surface. A clean surface is vital for a successful brazing joint.

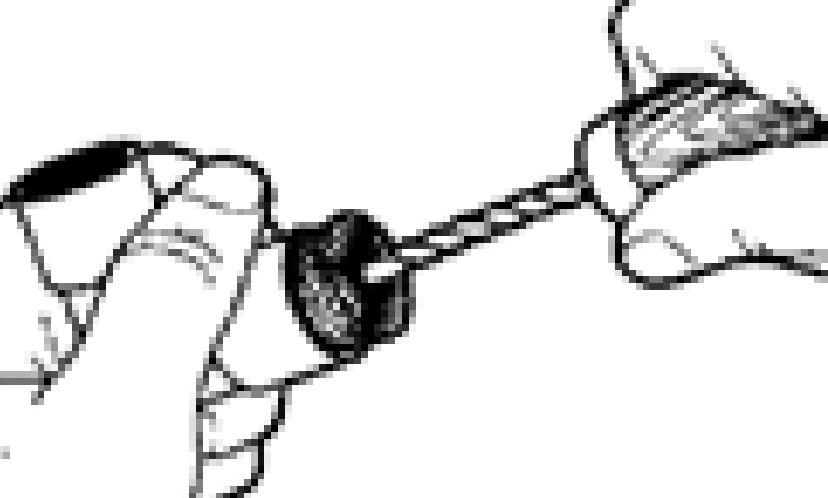
3. Clean the Fitting: Just as cleanliness is essential for the tube, the inside of the fitting requires careful cleaning as well. Using a wire brush, clean the inside of the fitting carefully up to the tube stop. Alternatively, sand cloth or sandpaper can be used to ensure the fitting’s interior is free of any debris or oxidation.

4. Applying Heat and Brazing: Now, let’s move on to the brazing process itself:
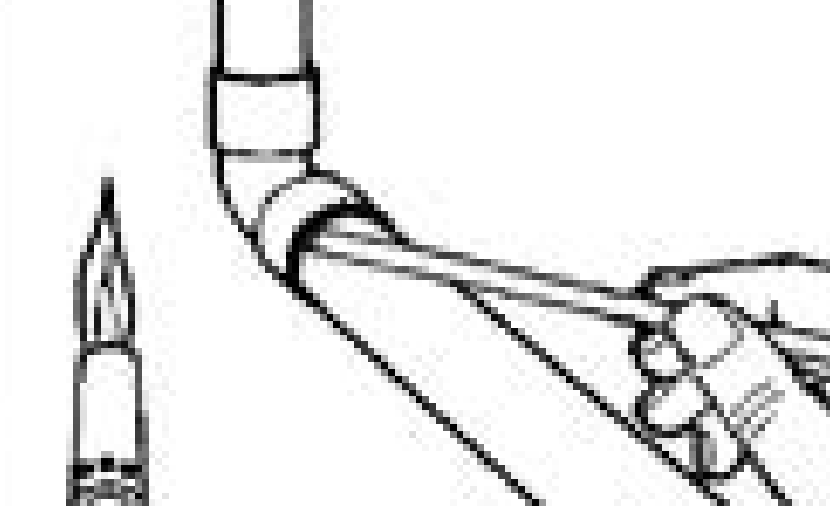
- Uniform Heat Application: Begin by applying heat uniformly around the fitting using a torch. Ensure that the heat is evenly distributed to the entire circumference of the fitting. This is a critical step as it ensures the brazing rod will melt upon contact with the heated fitting.
- Proper Brazing Temperature: Pay close attention to the brazing rod. When it melts upon contact with the heated fitting, it indicates that the proper brazing temperature has been reached. At this point, remove the flame from the fitting.
- Feeding the Brazing Rod: Now, feed the brazing rod slightly off center at the bottom of the joint. Proceed to move the rod across the bottom of the fitting and up to the top center position. Then, return to the starting point and move up the incomplete side to the top, overlapping the filler metal. This technique ensures a robust and complete bond.
- Cleanup: After brazing, wipe off any surplus brazing alloy using a piece of cloth. This step not only enhances the appearance of the joint but also ensures that excess filler metal doesn’t interfere with the connection’s integrity.
Get in touch
Ready to elevate your plumbing and HVAC projects to the next level of quality and reliability? Look no further than Lawton Tubes, your trusted international supplier of top-notch copper pipes, tubes, and fittings.
